A clean leather interior changes the whole feel of a drive. The seat looks richer, the cabin feels more comfortable, and you are not sliding into yesterday’s coffee drip, sunscreen residue, or the mystery marks that come with busy family life. Learning how to clean leather seats the right way helps you keep that feel-good experience without drying, discoloring, or damaging the material.
Leather is durable, but it is not indestructible. Heat, body oils, denim transfer, spills, and harsh cleaners can all wear down its protective finish over time. A gentle routine is usually all it takes to keep your seats looking cared for between full-service washes and professional detailing appointments.
Before You Clean Leather Seats, Know What You Have
Most modern vehicle seats are finished leather, not untreated natural leather. They have a protective topcoat that makes routine cleaning easier, but it can still be damaged by aggressive chemicals, stiff brushes, and too much moisture. Some vehicles use leatherette, vinyl, or a combination of leather and synthetic materials. The cleaning process below is generally safe for these surfaces, but your owner’s manual is always the best place to check for model-specific instructions.
If the leather is cracked, heavily faded, torn, or coated in sticky buildup, skip the urge to scrub harder. Those problems may need professional attention. Cleaning can improve the appearance, but it cannot repair worn leather or replace lost color.
Gather Simple, Leather-Safe Supplies
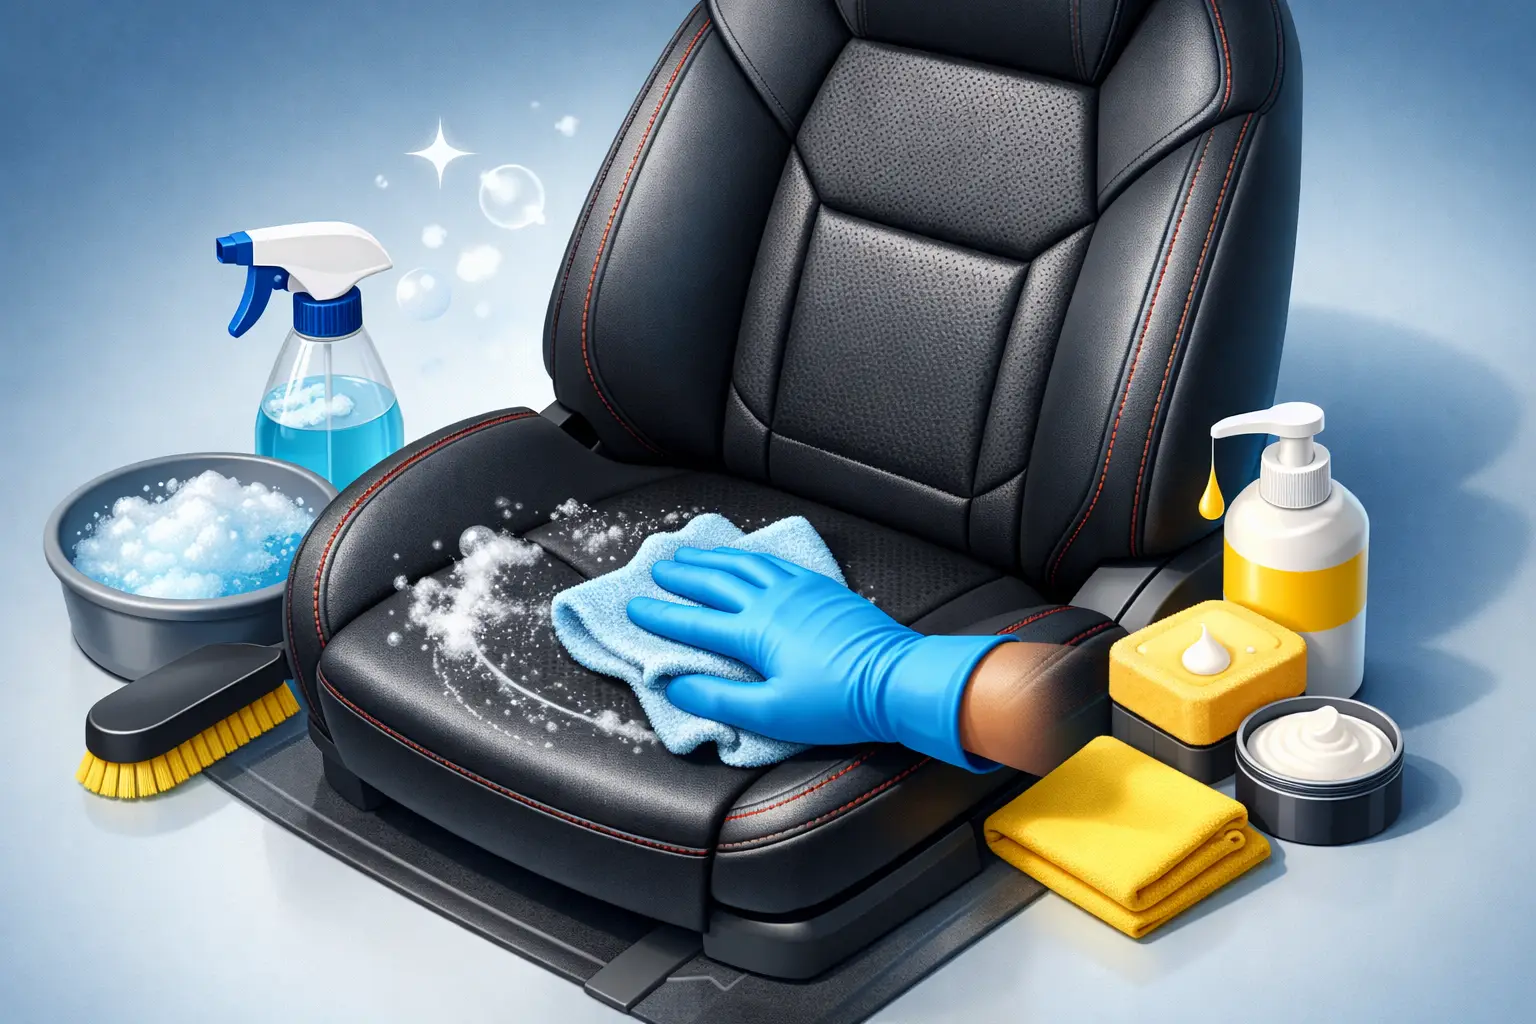
You do not need a cabinet full of products to get good results. Start with a vacuum that has a soft brush attachment, two or three clean microfiber towels, a soft detailing brush, and a pH-balanced leather cleaner. A leather conditioner can be useful after cleaning, especially on older seats, though not every modern coated leather surface needs it often.
Avoid household glass cleaner, bleach, all-purpose degreasers, dish soap, alcohol-heavy wipes, and products that leave a shiny, slippery finish. They may make a seat look clean for a day, but they can strip protective oils, weaken the coating, or leave residue that attracts more dirt. The goal is clean, soft-looking leather with a natural low-sheen finish, not a slick, overly glossy seat.
How to Clean Leather Seats Step by Step
Start with a cool, dry interior
Park in the shade or work in a garage if possible. Hot leather causes cleaning products to dry too quickly, which can leave streaks. Open the doors for airflow and remove car seats, loose mats, and anything tucked between the seat cushions.
Vacuum the entire seat first. Pay extra attention to seams, piping, perforations, and the narrow space where the seat bottom meets the seatback. Grit trapped in those areas can act like sandpaper when you wipe the leather later. Use a soft brush attachment rather than a hard plastic nozzle that could scratch trim or scuff the surface.
Test the cleaner in a hidden spot
Apply a small amount of your leather cleaner to a microfiber towel and test it on an inconspicuous area, such as the lower side of the seat. Wait a few minutes and look for discoloration, dye transfer, or an unusual change in sheen. This step takes very little time and is particularly smart for light-colored, older, or aftermarket leather.
Do not spray cleaner directly onto the seat unless the product label specifically says to do so. Spraying can oversaturate seams and perforations, allowing moisture to reach the foam underneath.
Clean one section at a time
Mist the cleaner onto a microfiber towel or soft detailing brush, then gently work a small section of the seat. Use light, overlapping strokes. For textured leather or buildup in the grain, a soft brush helps lift dirt without forcing you to scrub aggressively.
Work from the top of the seatback down to the seat cushion, then clean the bolsters, headrest, and side panels. Follow with a separate dry microfiber towel to pick up loosened grime and remaining product. Turn the towel frequently so you are lifting dirt away rather than spreading it around.
For perforated leather, use even less product. Wipe gently across the surface and keep moisture away from the small holes. If cleaner collects in perforations, blot it immediately with a dry towel.
Give stains the right amount of attention
Fresh spills are the easiest to handle. Blot liquids right away instead of rubbing them deeper into the leather. For everyday food marks, light mud, and body-oil buildup, repeat the gentle cleaning process once or twice before reaching for a stronger product.
Denim dye transfer on light leather can be stubborn. A leather-specific cleaner and soft brush may reduce it, but repeated hard scrubbing can remove color from the seat itself. Ink, nail polish, grease, pet accidents, and deep-set stains are also situations where a professional detail is often the safer choice. The trade-off is simple: a DIY attempt may save time today, but the wrong chemical or too much pressure can make a small spot become a costly repair.
Should You Condition Leather Seats?
Conditioner is not a shortcut for cleaning. Apply it only after the seats are clean and fully dry. A small amount on a clean microfiber applicator is enough. Spread a thin, even layer, allow it to absorb according to the product directions, then buff away any excess with a dry towel.
How often you condition depends on the vehicle and how it is used. A garage-kept car with dark, coated leather may need very little. A family SUV that spends long days in Maryland summer sun, carries kids and pets, or sees frequent commuting may benefit from conditioning every few months. Overconditioning can leave residue and make seats feel slippery, so more is not always better.
If your seats have ventilation or perforations, choose a conditioner that dries clean and use it sparingly. Never let heavy product pool in the holes.
Common Mistakes That Make Leather Look Worse
The biggest mistake is using too much water. Leather seats should be cleaned with a damp towel, not soaked. Excess moisture can leave water marks, seep into seams, and create odor issues in the padding below.
Another common mistake is treating leather like upholstery fabric. Steam, stiff brushes, and aggressive stain removers may be appropriate for some cloth seats, but they can damage leather finishes. Be especially careful around contrasting stitching, embossed logos, and colored inserts.
Finally, do not judge the result while the leather is still wet. Let it air dry with the doors open, then take a second look. What appears to be a streak may simply be moisture evaporating. If a light haze remains, wipe gently with a fresh dry microfiber towel.
Keep Seats Cleaner Between Deep Cleans
A little maintenance prevents a bigger job later. Wipe down high-touch areas such as the driver’s seat bolster, steering wheel, armrests, and center console regularly. These surfaces collect oils from hands, lotion, sunscreen, and everyday use faster than the rest of the interior.
For families, keeping a microfiber towel in the vehicle makes quick spill response much easier. For commuters, rideshare drivers, and delivery drivers, a light interior wipe-down every week or two can make a major difference in how the cabin feels. Window shades and covered parking also help reduce the sun exposure that can fade and dry leather over time.
When seats need more than a maintenance wipe, professional care can save you the guesswork. Love My Car Carwash can help refresh heavily used interiors with detailed seat cleaning, deep vacuuming, odor removal, and hands-on care suited to the condition of your vehicle.
Clean leather should feel comfortable, look naturally polished, and make every trip a little better. Treat it gently, stay ahead of spills and buildup, and your interior can keep delivering that satisfying feeling of getting into a car that looks good and feels good.