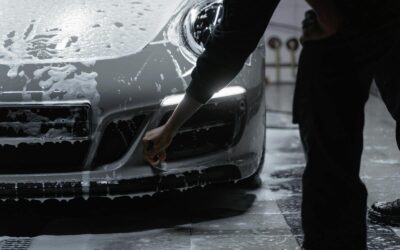
A freshly washed car looks fantastic, but some contaminants are too stubborn for a standard car wash. Two of the most common and frustrating offenders are bug splatter and road tar. Left unchecked, these substances can do more than just spoil your car’s appearance; they can permanently damage the paint.
Fortunately, there’s a specialized solution: a bug and tar remover. This guide will walk you through everything you need to know about these powerful cleaners. We’ll explain why bug guts and tar are so harmful, how to choose the right product, and the precise steps to safely and effectively restore your vehicle’s pristine finish without harming the paint.
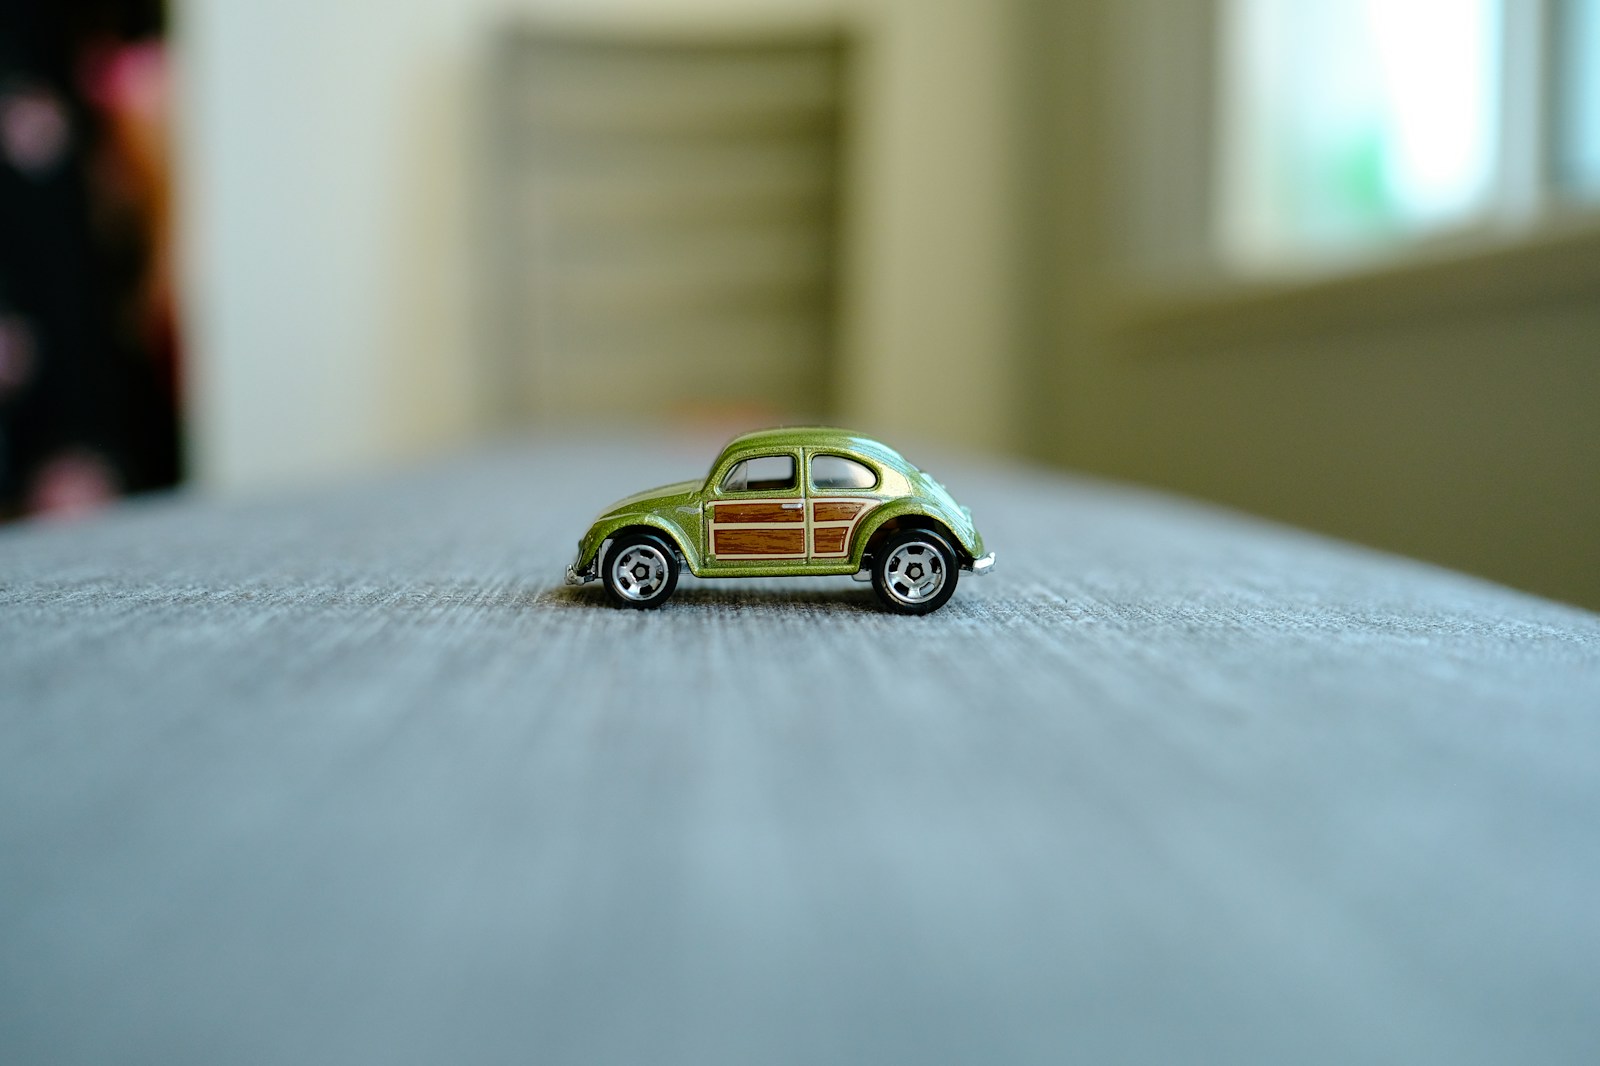
Photo by Surja Sen Das Raj on Unsplash
Why Are Bugs and Tar So Bad for Your Car’s Paint?
It might seem like a minor cosmetic issue, but bug residue and tar pose a significant threat to your vehicle’s exterior surfaces. Understanding the science behind the damage underscores the need for quick and proper removal.
The Corrosive Nature of Bug Splatter
When flying insects collide with your vehicle, the impact is just the beginning of the problem. Bug guts are a complex mix of organic compounds and bodily fluids that are naturally acidic. As this bug splatter dries on your car’s warm surface, the acids begin to eat away at the clear coat, the protective top layer of your automotive paint.
If not addressed quickly, this acidic etching can penetrate the clear coat and reach the color coat underneath, causing permanent damage. High temperatures from the sun accelerate this chemical reaction, making prompt removal even more critical during warmer months. What starts as a simple bug mark can become a permanent blemish on your paintwork.
The Problem with Sticky Tar
Road tar is a petroleum-based substance used in asphalt. On hot days, tar can liquefy and get flung from the road surface onto your vehicle’s lower panels, wheel wells, and bumpers. This sticky tar adheres strongly to the paint and solidifies as it cools.
Unlike bug splatter, tar isn’t acidic. However, it contains fresh oil and solvents that can slowly dissolve the protective wax or ceramic coatings on your car. Over time, these solvents can soften and stain the clear coat itself. Trying to remove hardened tar by scrubbing is one of the worst things you can do, as the abrasive particles within the tar will cause deep scratches and swirl marks.

Photo by Kevin Fitzgerald on Unsplash
Choosing the Right Bug and Tar Remover
With countless products on the market, selecting the best one for your needs can be confusing. Not all removers are created equal. Some are heavy-duty cleaners designed for the toughest jobs, while others are gentler, multi-purpose formulas. Here’s what to consider.
Types of Removers
- Solvent-Based Sprays: These are the most common type of bug and tar remover. They use powerful solvents to break down and dissolve sticky tar, tree sap, grease, and bug residue. They work quickly but can be harsh on sensitive materials. Always check if the product is safe for your car’s specific surfaces, including plastic, chrome, and clear coats.
- Citrus-Based Cleaners: These products use natural citrus oils (like d-limonene) as their active ingredient. They are generally gentler on surfaces and more environmentally friendly. While effective, they may require a longer soaking time to break down heavy contaminants compared to stronger solvent-based options.
- Clay Bars: A detailing clay bar is a non-chemical option for removing embedded contaminants. When paired with a lubricant spray, a clay bar glides across the paint, pulling out tar, tree sap, and dried bugs from the surface. It’s an excellent method but more labor-intensive and is typically part of a larger detailing process.
- All-in-One Car Wash Soaps: Some car wash soaps are formulated to help with tar removal. A “tar wash” might be effective for light contamination, but for stubborn, stuck-on bugs and thick tar deposits, a dedicated spot treatment is usually necessary.
What to Look for in a Product
- Safety: Ensure the label states the product is “clear coat safe.” Modern vehicles have a clear coat layer over the paint, and harsh chemicals can damage it. The versatile formula should be safe for paint, glass, chrome, and plastic.
- Effectiveness: Look for reviews and recommendations from professional detailers or trusted automotive sources. A good tar remover quickly breaks down particles with minimal scrubbing needed. Phrases like “quickly breaks down stubborn contaminants” are a good sign.
- Ease of Use: A simple spray-on, wipe-off application is ideal. Products that require complex dilution or multiple steps may not be practical for quick clean-ups.
How to Safely Remove Stubborn Bugs and Tar: A Step-by-Step Guide
Using a bug and tar remover is straightforward, but following the correct procedure is crucial to avoid damaging your vehicle’s surface. Rushing the process or using the wrong tools can lead to scratches.
Preparation and Tools
Before you begin, gather the following supplies:
- Bug and Tar Remover: Your chosen product.
- Two Wash Buckets with Grit Guards: One for soapy water and one for rinsing your wash mitt.
- Quality Car Wash Soap: To pre-wash and neutralize the surface.
- Premium Microfiber Towels: Have at least three or four clean towels on hand. Microfiber is gentle and won’t scratch the paint.
- Hose or Pressure Washer: For rinsing.
- Protective Wax or Sealant: To reapply protection after cleaning.
The Removal Process
Step 1: Wash the Vehicle
Never apply a bug and tar remover to a dirty, hot surface. First, wash your car thoroughly to remove loose dirt and grime. This prevents you from grinding abrasive particles into the paint during the removal process. Use a foam cannon or the two-bucket method for the safest wash. A clean surface allows the remover to work directly on the contaminants.
Step 2: Apply the Bug and Tar Remover
Once the car is clean and dry, identify the affected areas. Work in a shaded, well-ventilated spot.
- Spray the bug and tar remover directly onto the bug splatter, tar residue, or tree sap. Be generous with the application to fully saturate the area.
- Do not spray the entire car. This is a spot treatment. Focus only on the specific areas with contaminants.
Step 3: Let It Soak
This is the most important step. The versatile formula needs time to break down and dissolve the sticky tar and dried bugs. Most products recommend letting it soak for 30 seconds to a few minutes. Check the product label for the specific dwell time. You may see the tar start to “bleed” or run, which is a sign the product is working.
Step 4: Gently Wipe the Area
Take a clean, premium microfiber towel and fold it into quarters. Gently wipe the treated area in a single direction. Do not apply heavy pressure or scrub back and forth. The goal is to lift the dissolved contaminants off the surface, not grind them in.
- If the bug or tar residue remains, reapply the remover, let it soak again, and repeat the gentle wipe. For extremely stubborn spots, you may need a third application. Patience is key to avoiding permanent damage.
- Flip the towel to a clean side for each wipe to prevent re-contaminating the surface.
Step 5: Rinse and Neutralize
After you’ve removed the contaminants, it’s crucial to neutralize and rinse away any remaining chemical residue. You can do this by:
- Rinsing the treated area thoroughly with water.
- Washing the area again with your car wash soap and a clean wash mitt. This ensures no corrosive chemicals are left on the paint.
- Finally, give the area a final rinse.
Step 6: Dry and Inspect
Dry the area with a fresh, clean microfiber towel. Inspect the paint under good lighting to ensure all the tar and bug splatter is gone. Check for any new scratches or swirl marks. If you followed the gentle wiping technique, the surface should be clean and damage-free.
Step 7: Reapply Protection
Bug and tar removers are strong cleaners and will likely strip any wax, sealant, or ceramic coatings from the treated area. This leaves your paint exposed to the elements.
- Apply a layer of your preferred wax or paint sealant to the cleaned spots. This will restore the protective barrier and bring back the shine.
Top Bug Tar Remover Products for Your Car’s Exterior Surfaces
BugSlide Bug Remover
BugSlide’s all-in-one solution doesn’t just remove bugs and tar but also cleans, polishes, and protects your car’s surface. Its silicone-free formula ensures your car’s paint stays safe from harm. Buy BugSlide here
Chemical Guys Bug & Tar Remover
Specially formulated to break down tough bug splatter and tar, this product is perfect for sensitive car surfaces. It’s from a trusted brand known for superior car care products. Buy Chemical Guys here
Turtle Wax Bug and Tar Remover
Turtle Wax combines cleaning power with ease of use. Its spray-on gel formula clings to vertical surfaces, making application simple and effective. If you’re also concerned about how substances like bird droppings can damage your car’s paint, check out our comprehensive guide for more cleaning tips. Buy Turtle Wax here
Meguiar’s Heavy Duty Bug & Tar Remover
Meguiar’s high-quality solution is designed to soften and lift tough debris like bugs and tar without damaging the clear coat. It’s trusted by professional car detailers. Buy Meguiar’s here
Griot’s Garage Bug and Smudge Remover
Perfect for stubborn splatters, Griot’s Garage offers a fast-acting, environmentally friendly formula that’s safe for paint, glass, and more. Buy Griot’s Garage here
Stoner Car Care Tarminator
A powerful product that quickly removes tar, bugs, and even tree sap. Tarminator works on clear coats and offers a deep clean without abrasive chemicals. Buy Tarminator here
3M Bug, Tar, and Adhesive Remover
Known for versatility, 3M’s formula tackles a variety of problems, from tar to adhesive residue, while maintaining the integrity of your car’s finish. Buy 3M here
These products deliver reliable results while protecting your vehicle’s paintwork, making them valuable additions to your car care toolkit.
Love My Car Car Wash
We handle all your detailing needs at Love My Car Car Wash. Stop by and see the difference Love My Car Car Wash will make to your car!
Your Guide to a Spotless Finish
Dealing with stuck-on bugs and road tar is an unavoidable part of driving. But with the right knowledge and a quality bug and tar remover, you can save your exterior surfaces from long-term harm. By following these steps, you can confidently tackle these stubborn contaminants without fear of damaging your paintwork.
Regular car washing and applying a protective layer of wax are the best preventative measures, but for those times when bug splatter and tar appear, you’ll be ready. Keeping a bottle of reliable bug and tar remover in your detailing kit ensures your vehicle always looks its best.