Do you know how to wax a car, effectively and safely?
There is a specific feeling you get when you walk out to your driveway and see your car gleaming in the sun. It looks newer, cleaner, and undeniably sharp. But beyond the vanity of a shiny ride, that layer of wax is doing some heavy lifting to protect one of your biggest investments.
As a family-owned team right here in Germantown, we see vehicles in every condition imaginable. From the pristine showroom-ready sedans to the “I have three kids and a dog” SUVs, we treat them all with the same level of care. One thing we’ve noticed? Most car owners know they should wax their car, but very few know how to do it correctly—or why it matters so much.
Every day at our wash bay, we see the long-term effects of skipping this step in the waxing process: paint oxidation, etched water spots, and clear coats that are peeling away. Proper waxing isn’t just about looking good; it’s about armor.
Living in Maryland means your vehicle is constantly under attack. In the summer, the UV rays cook your clear coat. In the spring, the pollen acts like sandpaper. In the fall, acidic tree sap eats into the finish. And in the winter? Road salt is practically waiting to rust your panels. A proper coat of wax is the barrier between the elements and your paint.
Ready to get that showroom shine? Drive away clean and confident by following our pro guide below, or simply stop by and let us handle the hard work for you. This guide explains how to wax a car properly to protect paint and boost shine, with tips tailored for Germantown, MD conditions.
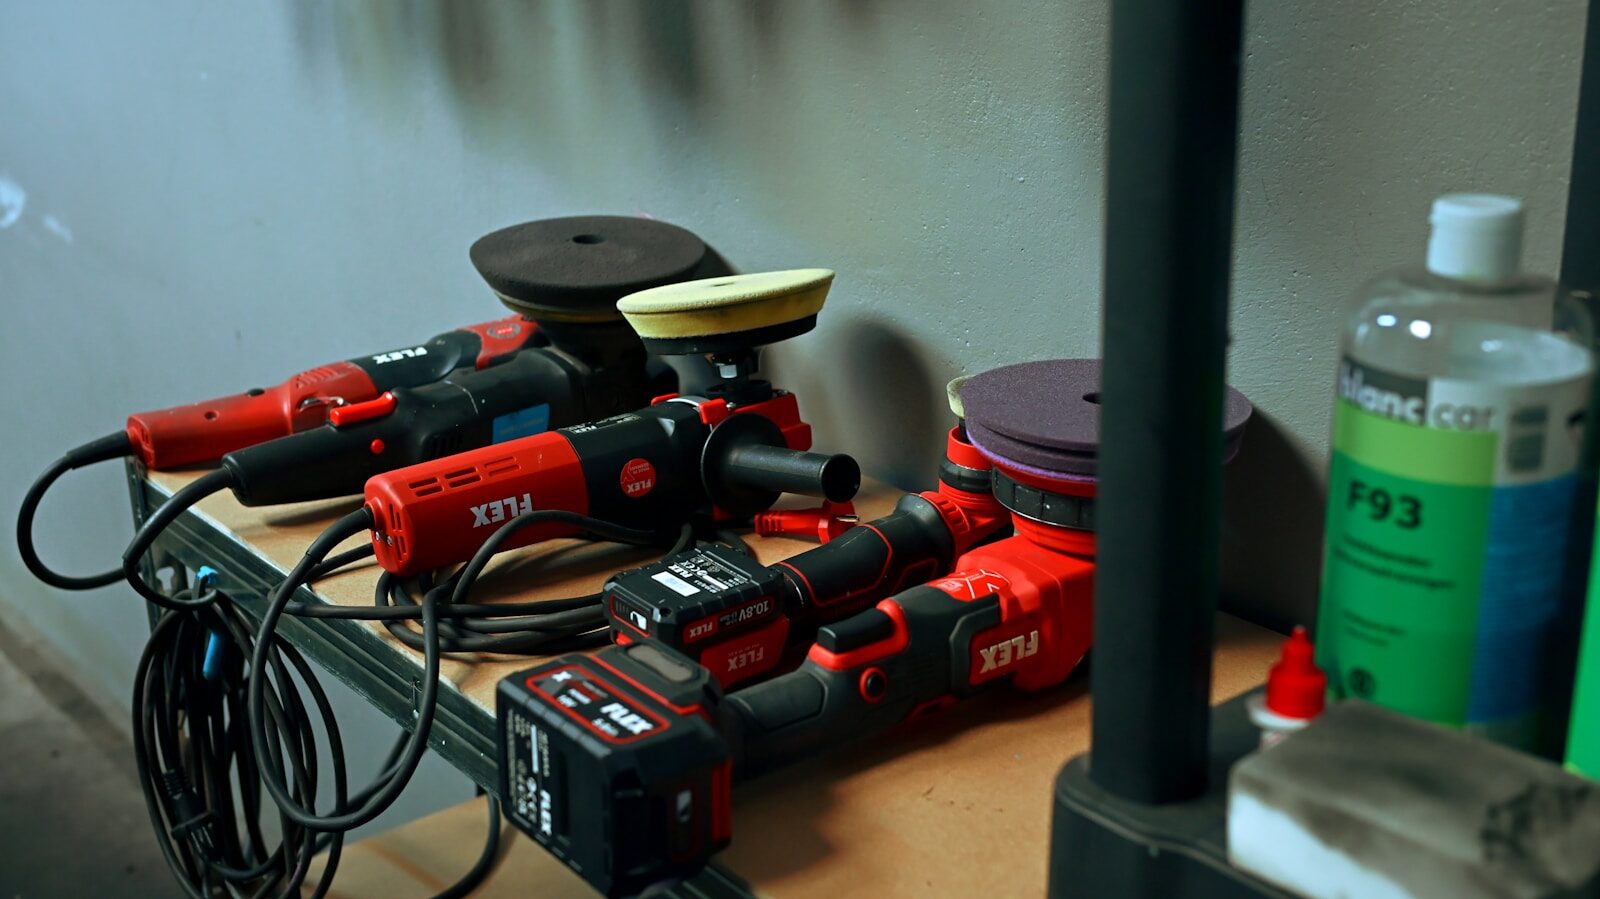
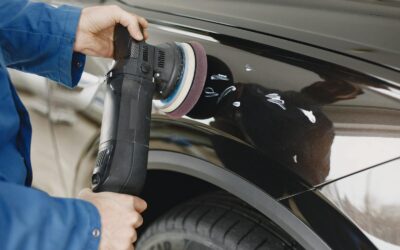
Photo by Luay Barani on Unsplash
How to Properly Wax a Car the Right Way (From Our Detail Bay to Your Driveway)
Waxing seems straightforward—wipe on, wipe off—but the difference between an amateur job and a pro finish is in the details. Follow these steps to ensure you aren’t just smearing product around, but actually protecting your vehicle.
Step 1: Start With a Proper Car Wash
We cannot stress this enough: never wax a dirty car.
It might seem obvious, but we’ve seen DIYers try to spot-wax a dusty hood. When you apply wax to a dirty surface, you are essentially grinding dirt, silica, and road film into your clear coat. This creates “swirl marks”—those microscopic scratches that make your paint look dull in direct sunlight.
Before you even touch a wax applicator, your car needs a thorough decontamination wash. You need to remove not just the visible mud, but the road film (that greasy layer from highway driving) and bugs.
Pro Tip: Unless you are using a specifically designed “wet wax” or spray wax drying aid, your car needs to be completely dry before applying traditional paste or liquid wax. Water dilutes the product and prevents it from bonding to the paint pores.
Step 2: Prep the Car’s Paint With a Clay Bar (When Needed)
Have you ever washed your car, dried it, and then ran your hand over the hood, only to feel little bumps? That is bonded contamination. It could be tree sap, brake dust, industrial fallout, or tar. Waxing over this seals the dirt in, rather than protecting the paint.
This is where a clay bar treatment comes in. A clay bar is a synthetic putty that, when used with a lubricant spray, lifts those contaminants out of the clear coat.
- What it does: It makes the paint glass-smooth.
- When to DIY: If you are patient and have a good lubrication spray, you can do this at home.
- When to call us: If you drop the clay bar on the ground (it picks up rocks instantly!), throw it away. If you aren’t comfortable rubbing an abrasive bar on your paint, let our detail team handle it. We know exactly how much pressure to apply to get a smooth surface without marring the finish.
For a deeper dive on why preparation is key, check out this guide on how to prep your car for wax.
Choosing the Right Car Wax for Your Vehicle
Not all waxes are created equal. The “best” wax depends entirely on how you use your car.
Natural Wax vs Synthetic Wax: What We Recommend
Carnauba Wax: This comes from the leaves of Brazilian palm trees. It provides that deep, warm, “wet” look that car enthusiasts love. However, it doesn’t last as long as synthetic options. It’s great for show cars or weekend cruisers.
Synthetic Wax (Paint Sealant): These are made from polymers that bond tightly to the paint. They offer superior durability and UV protection, often lasting 4-6 months.
- Paste Wax: Old school, labor-intensive, but great results.
- Liquid Wax: Easier to apply, durable, and usually synthetic.
- Spray Wax: The quickest option. Great for “topping up” your protection between major details, but usually offers the least longevity on its own.
The Right Wax for Your Driving Habits
- Daily Commuters: Go for a synthetic liquid automotive wax or sealant. You need armor against I-270 traffic and road grime.
- Families with Multiple Vehicles: Spray waxes are your friend here. They are fast, easy, and better than nothing when you’re juggling soccer practice and grocery runs.
- Rideshare & Professional Drivers: A durable sealant or ceramic coating is best to keep the car looking professional with minimal weekly maintenance.
- Appearance-Conscious Car Enthusiasts: A layer of synthetic sealant followed by a layer of Carnauba wax gives you the protection and the glow.
Applying Car Wax the Correct Way
Now that the car is clean and dry, it’s time to apply.
Can I Wax My Car by Hand Instead Of Buffer Waxing?
Absolutely. In fact, for most DIYers, hand waxing is safer than buffer waxing using a machine buffer if you don’t have experience.
You’ll need a foam applicator pad and high-quality microfiber towels. Avoid old t-shirts or bath towels; the fibers are too rough and can scratch modern clear coats.
Pressure: Use gentle pressure. You aren’t scrubbing a stain out of a carpet; you are spreading a thin layer of product over a smooth hot surface. Let the wax do the work.
Circular Motion: Myth or Method?
You’ve probably seen the “wax on, wax off” circular motion in movies. In reality, circular motions can be risky. If there is a tiny piece of grit trapped in your pad, a circular motion creates a swirl mark that is visible from every angle.
Our Pro Recommendation: Use straight lines. Apply the wax in a cross-hatch pattern (up and down, then left and right). This ensures full coverage and minimizes the risk of circular swirls.
How Long Should You Leave Wax on Your Car?
Read the bottle! Generally, you want the wax to haze over. This usually takes 5 to 10 minutes depending on the humidity in Germantown that day.
- The Swipe Test: Swipe your finger through the wax residue. If the paint underneath is clean and shiny, it’s ready to remove. If it smears, it needs more time.
- Less is More: A common mistake is applying a thick layer of wax. The paint can only absorb so much. The rest is just wasted excess wax that becomes difficult to buff off.
For more application techniques, this tutorial from Chemical Guys is a great resource.
What NOT to Do When Waxing a Car
- Don’t wax in direct sunlight: If the paint is hot, the wax will bake on instantly, making it a nightmare to remove. Find some shade!
- Don’t apply too much: A thin, even coat is better than a thick, gloopy one.
- Don’t use dirty tools: If you drop your towel, grab a new one.
- Don’t wax over scratches: Wax protects paint; it doesn’t fix it. If you have light scratches, you need a polish or compound before the wax.
Machine Waxing vs Hand Waxing: What We Use in the Shop
At Love My Car, we utilize professional equipment to ensure an even, flawless finish.
Buffing Pads, Dual Action Polishers & Low-Speed Settings
For our full detailing services, we often use Dual Action (DA) polishers. Unlike high-speed rotary buffers which can burn through paint if mishandled, DA polishers oscillate to safely apply wax and remove light defects.
- Why use a machine? It applies the wax more evenly than a human hand ever could, ensuring every microscopic pore of the paint is filled.
- The Risk: Without the right backing plates and clean pads, machines can cause damage. This is why we recommend beginners stick to hand waxing or trust professionals for machine work.
Curious about machine polishing? Here is a breakdown of the different types of polishers.
Wet or Dry: Should You Wax Your Car Completely Dry?
Traditional paste and liquid waxes require a bone-dry surface. If there is water, the oils in the wax will separate, leading to streaking and poor durability.
However, there is a modern exception: Spray Waxes / Drying Aids.
Some modern spray waxes are designed to be sprayed onto a wet car while you dry it. This acts as a lubricant for your drying towel (preventing scratches) and leaves a layer of protection behind.
- Water Spots: If you have hard water, leaving water on the car while you fumble with wax can lead to etched water spots. Dry the car first unless the product specifically says otherwise.
Read more about water spots and how to prevent them.
How Often Should You Wax Your Car?
In Germantown, MD, we get all four seasons—sometimes in the same week.
- Spring/Summer: Wax creates a barrier against pollen and UV rays.
- Winter: Essential for protection against road salt and brine.
We generally recommend a high-quality wax every 3 to 4 months. If you want longer protection, consider a Ceramic Coating. Unlike wax, which sits on top of the paint, ceramic coatings bond chemically, offering protection that lasts for years, not months.
Compare the differences between wax and ceramic coating here.
When It’s Better to Let the Pros Handle It
DIY is great for maintenance, but sometimes your car needs a reset.
- Scratches and Oxidation: If your paint looks chalky or has spider-web scratches, wax won’t help. You need polishing or compounding (paint correction).
- Ceramic Coating: Applying a true ceramic coating requires meticulous preparation. If done wrong, you can seal in dirt permanently.
- Time: Let’s be honest—properly washing, claying, and waxing a car takes hours. Sometimes, your weekend is worth more than the cost of a detail.
Protect Your Investment with Ceramic Coating.
![]()
Why Our Customers Trust Us With Their Car’s Finish
We aren’t a faceless chain. Love My Car Car Wash is a multi-generational, family-owned business proud to serve the Germantown community. We believe in detail-level quality without the showroom price tag.
Whether you need a quick drive-through wash with our Unlimited Membership or a full interior and exterior detail, we have flexible services to fit your busy schedule. We treat your car like it’s our own.
Fast, Friendly, and Family-Owned — That’s Love My Car.
Final Thoughts: Show Your Car Some Love
Waxing your car is one of the most satisfying things you can do as a car owner. It preserves the value of your vehicle, makes it easier to clean next time, and simply looks fantastic.
If you have the time and the tools, following the steps above will get you great results. But if you’d rather spend your Saturday relaxing while we handle the elbow grease, we’re ready for you.
Step Up Your Shine with Gold or Diamond.
Book Your Full Detail Appointment.
Join the Unlimited Wash Club.
Show Your Car Some Love Today.